
This is the main page where I will be posting updates to my ray tracing project. I have decided to implement it in C for a few reasons. The primary reason is for the experience of implementing a large project in C and for performance/control reasons. Basically, I'd rather have a more complete understanding of what is going on during the execution of the ray tracer. THe secondary reason for choosing C is due to the other project I have to compelete for CGII - a reimplementation of the project that runs on the Cell microprocessor. I'd prefer not to use many C++ features that may severly hinder performance of code that runs on the SPUs. Also C is about as close to the wire as I can get and still run in different hardware. Thankfully this project doesnt' have to be too flexible, and I spent enough time designing(mostly mental) so the difficulty of implementing things in C thus far hasn't been too difficult.
The links go directly to the bitmap output.
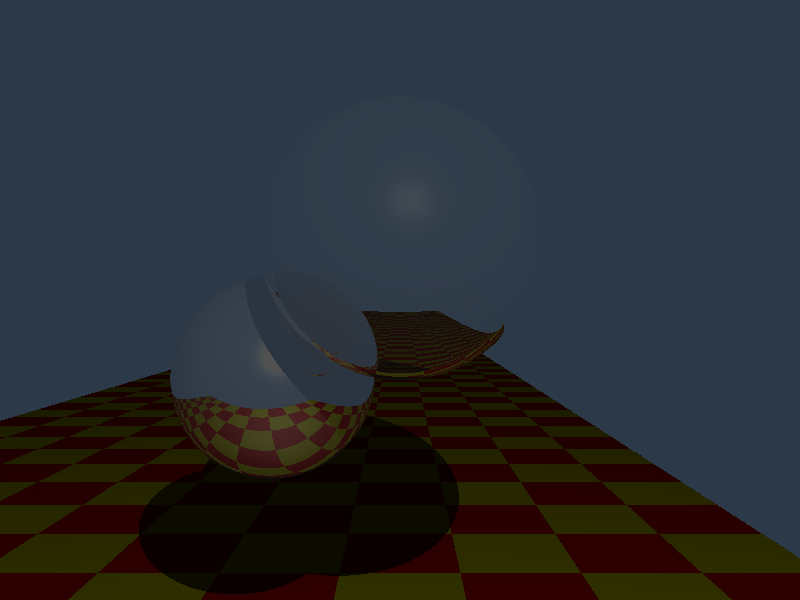
Ward Operator 1 nit -
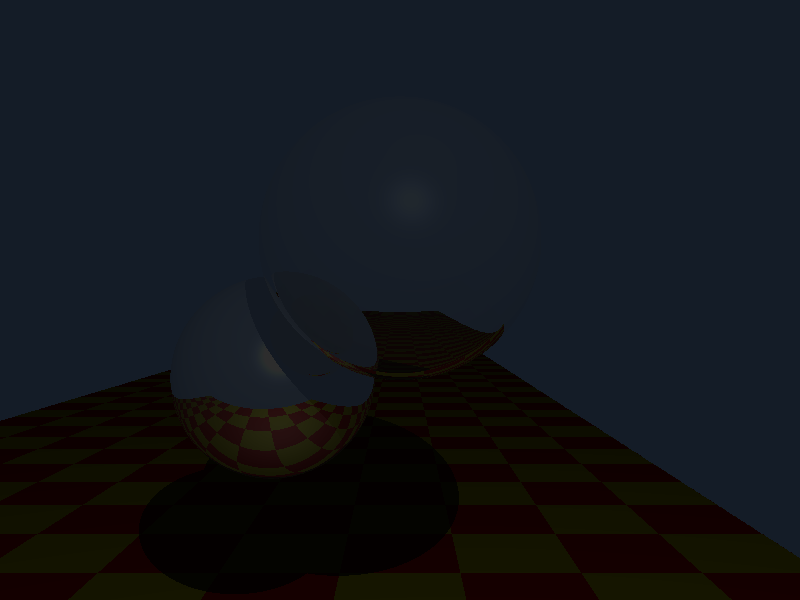
Ward Operator 100 nits -
Ward Operator 1000 nits -
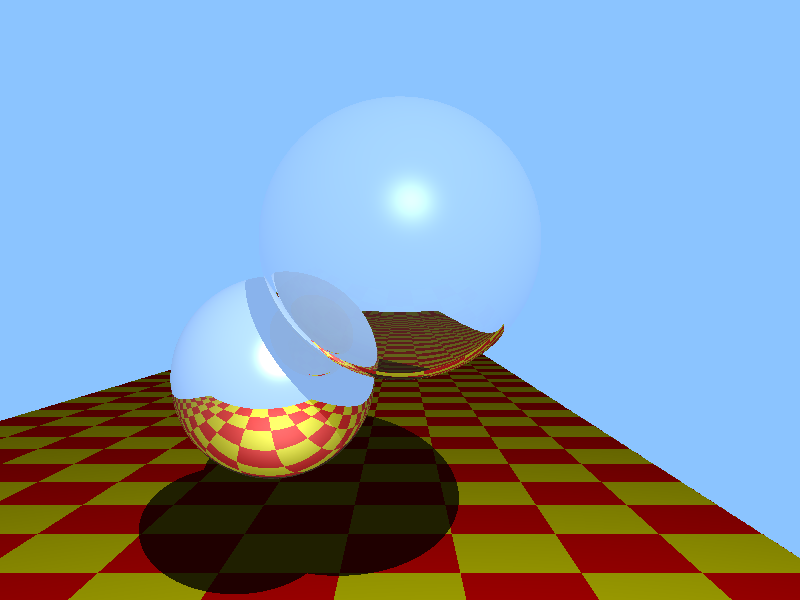
Reinhard Operator 1 nit -

Reinhard Operator 100 nits -
Reinhard Operator 1000 nits -
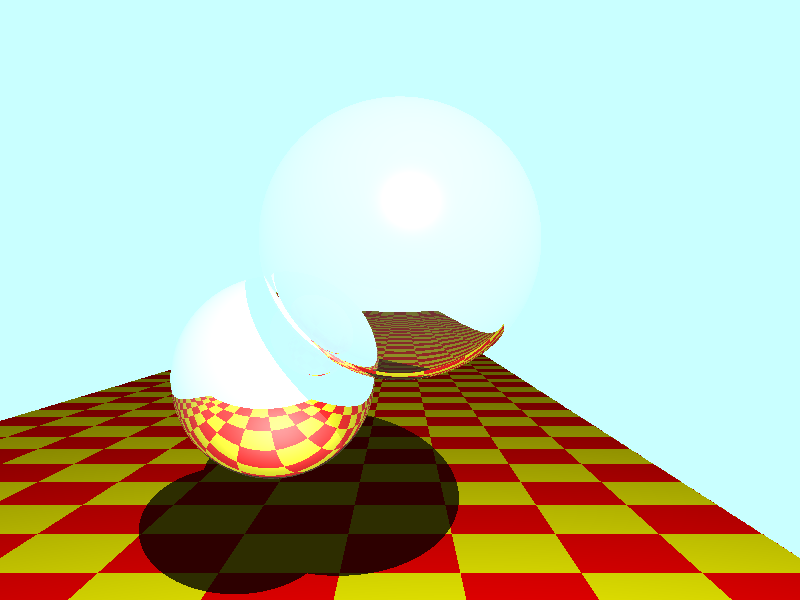
I have implemented the extra for this checkpoing. The first is the Reinhard operator with a different constant key value.
a = .5, lmax = 1000 nits -
Reinhard Operator lmax = 1000nits, key value luminance at (10, 10) -
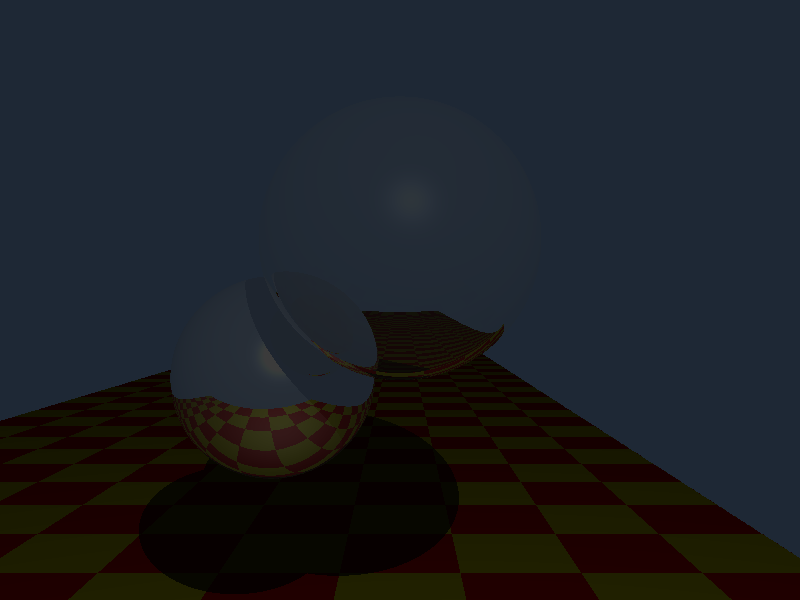

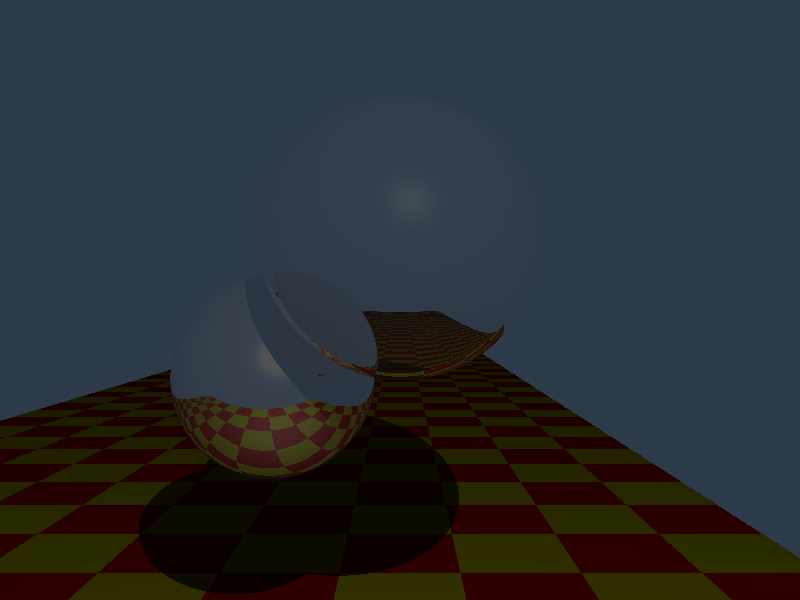
For checkpoint 6 I had to implement transmission. Basically another ray had to be spawned at each shading point if the surface was was not fully opaque. This checkpoint actually forced somewhat of a significant under the hood change due to how I circumvented a certain issue with reflected rays. I had to undo the hack that prevented spawned rays from intersecting the object it spawned off of. My first solution eliminated the entire object from being tested for intersection. However, since the spawned transmitted ray needs to hit the sphere twice and refract again, I had to change this hack. In the end, all I did is give all spawned rays a "tiny push" in the direction it is assigned to make it move off of the object at the initial spawn point. Also, it should be noted that I changed the background color to more accurately reflect the original Whitted ray tracing image. Here is a link to the bitmap image for accurate pixel values.

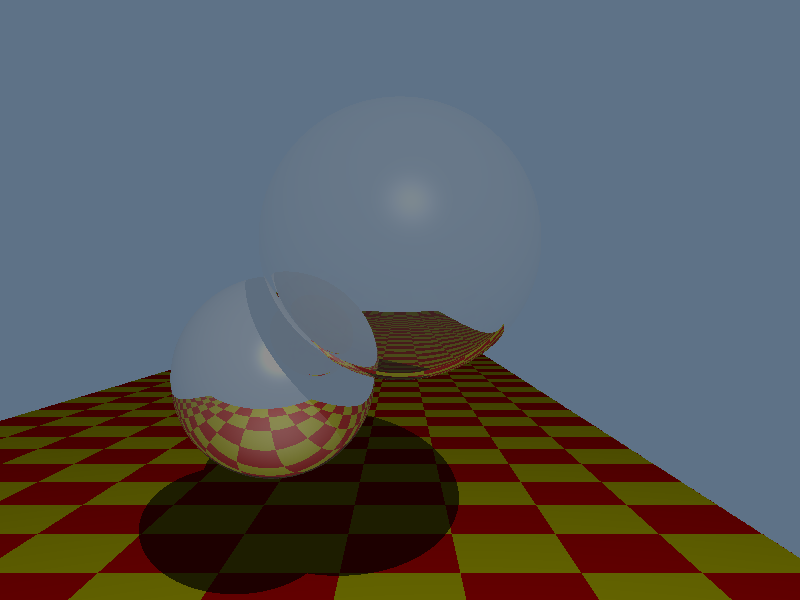
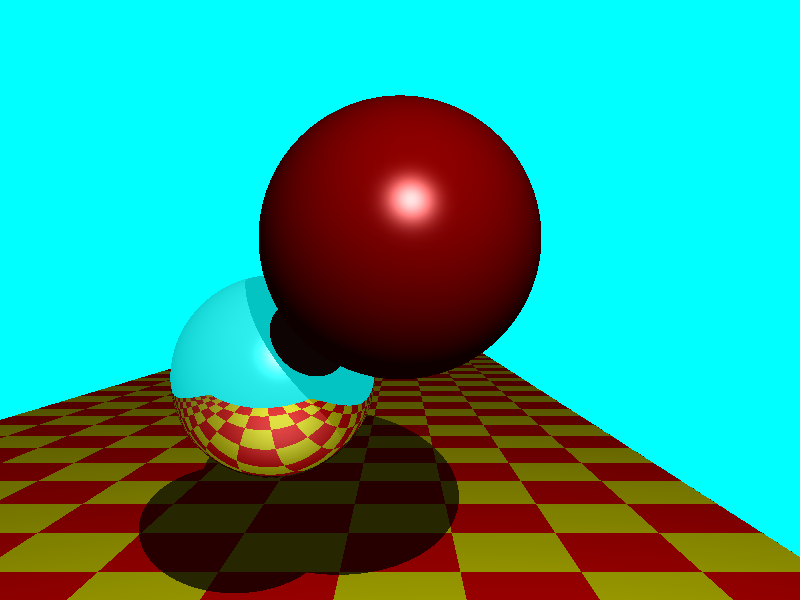
This checkpoint added reflection and transmission parameters to the ray tracer. Because of this, the underlying shading calculations also had to become recursive with a controlled depth as to not continue ray tracing forever in some cases. The transmission parameter isn't implemented yet. The sphere in the back has a reflection constant(kr) of .75 and the ambient/diffuse color are set to RGB(.7, .7, .7). Here is a link to the bitmap image for accurate pixel values.
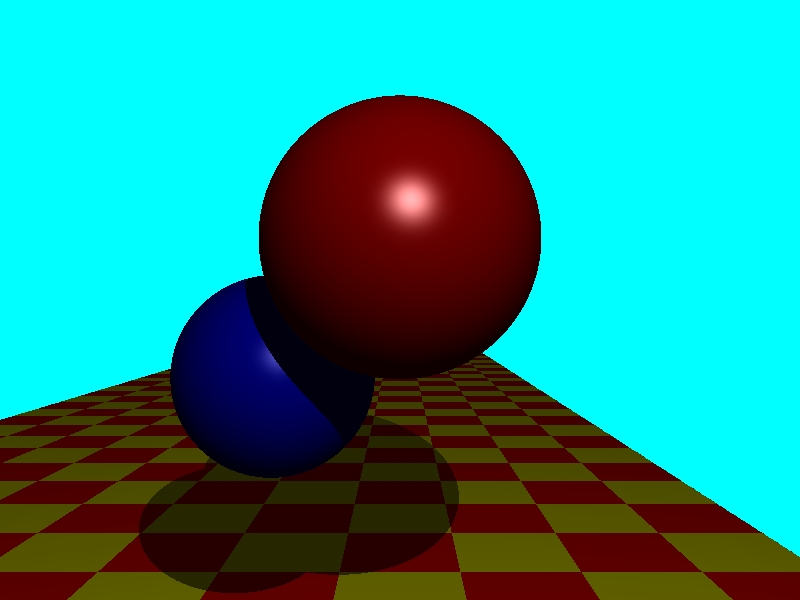
This checkpoint shows a basic procedural texture being applied to the floor plane. It is a simple red/yellow checkerboard. Here is a link to the bitmap image for accurate pixel values. The images no longer show window borders because my ray tracer now outputs ppm image files using the netpbm library. From there I then convert the images to bmp and jpg formats for display on this website. There is one extra I completed with this checkpoint:

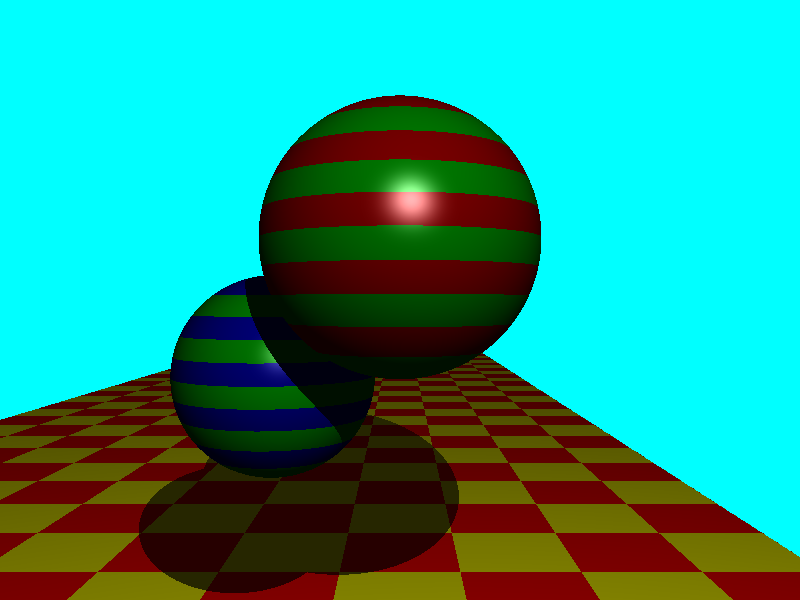
This extra is another procedural shader applied to the spheres in the scene. Given a supplied number of stacks and/or slices on the sphere, it displays that number of alternating slices of the default object color and green. Here is a link to the bitmap image for accurate pixel values. Here are other images showing slices as well as stacks for this extra:

Here is a link to the bitmap image for accurate pixel values.

Here is a link to the bitmap image for accurate pixel values.
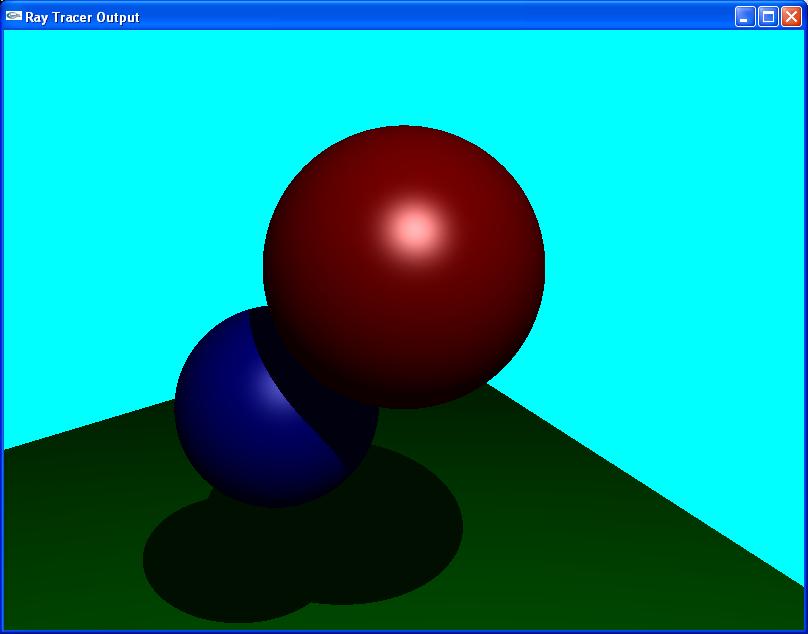
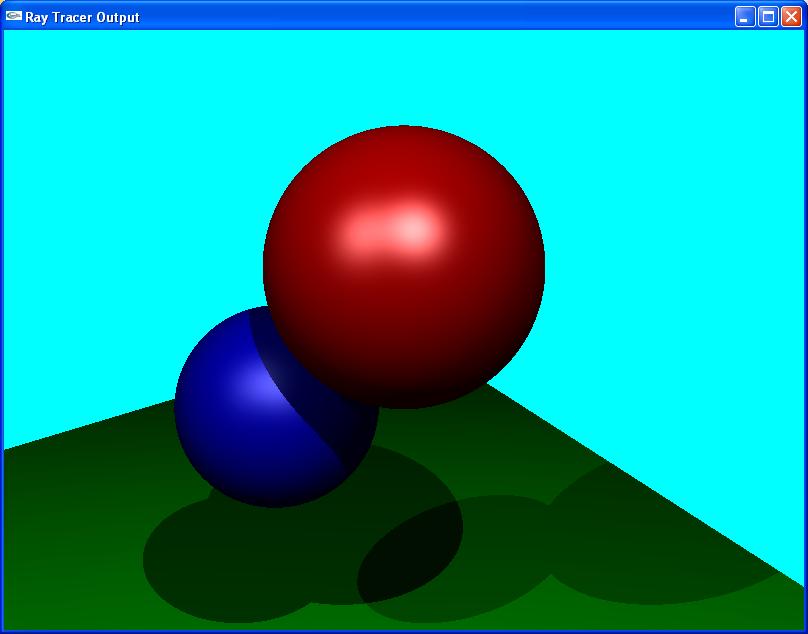
This is the image generated by my ray tracer at this point. I've added some basic phong lighting with diffuse, specular, and ambient components. Here is a link to the bitmap image for accurate pixel values. I have implemented two extras:
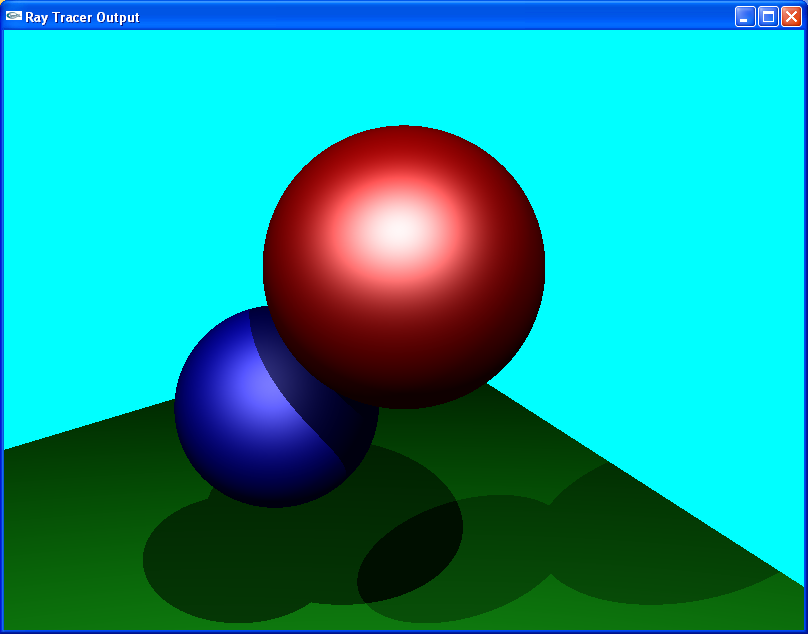
This extra shows support for multiple light sources. You can see two shadows being casted on the ground plane and Here is a link to the bitmap image for accurate pixel values.
The extra light source is located at (-4, 8.0, 1.0).

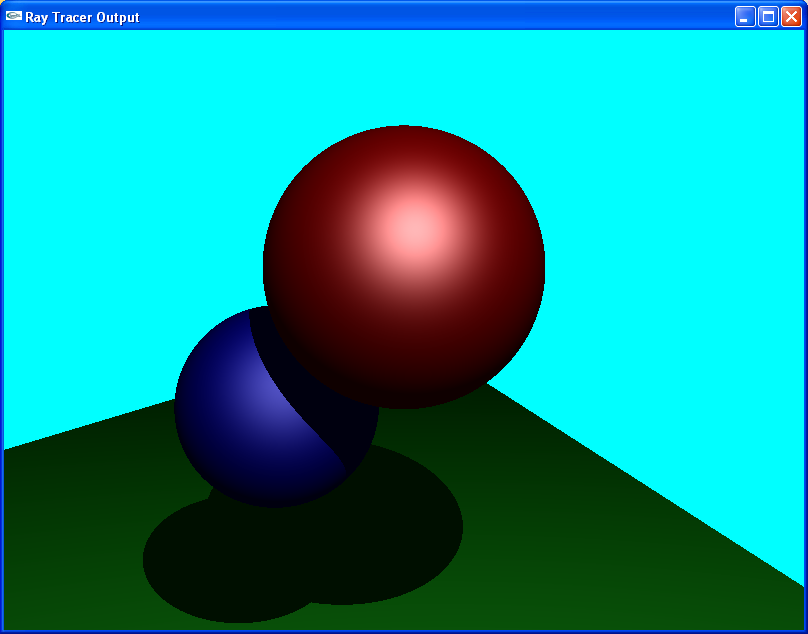
This extra shows support for the Phong-Blinn lighting model. You can see the difference in the size of the specular highlight on the spheres primarily. Here is a link to the bitmap image for accurate pixel values.

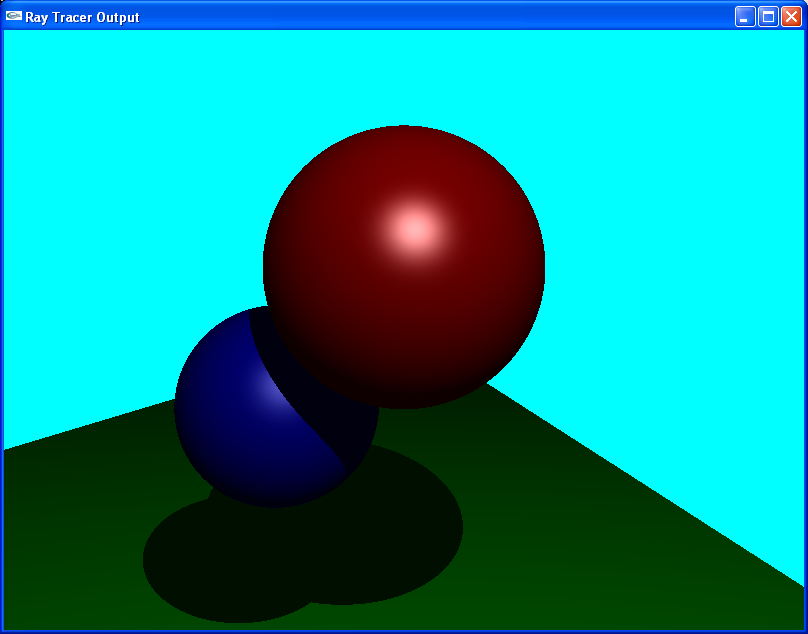
This image is simply the Phong-Blinn model using. Here is a link to the bitmap image for accurate pixel values.
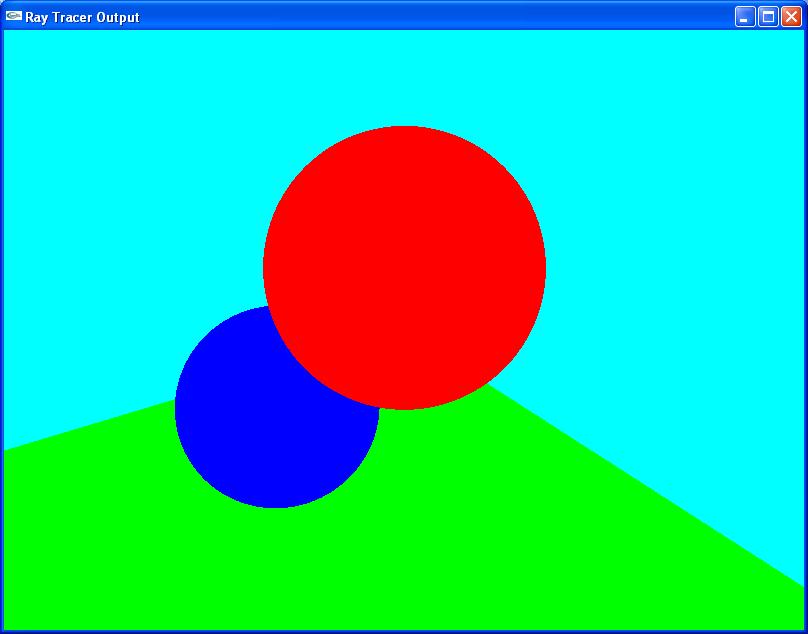
This is the image generated by my ray tracer at this point. Here is a link to the bitmap image for accurate pixel values.
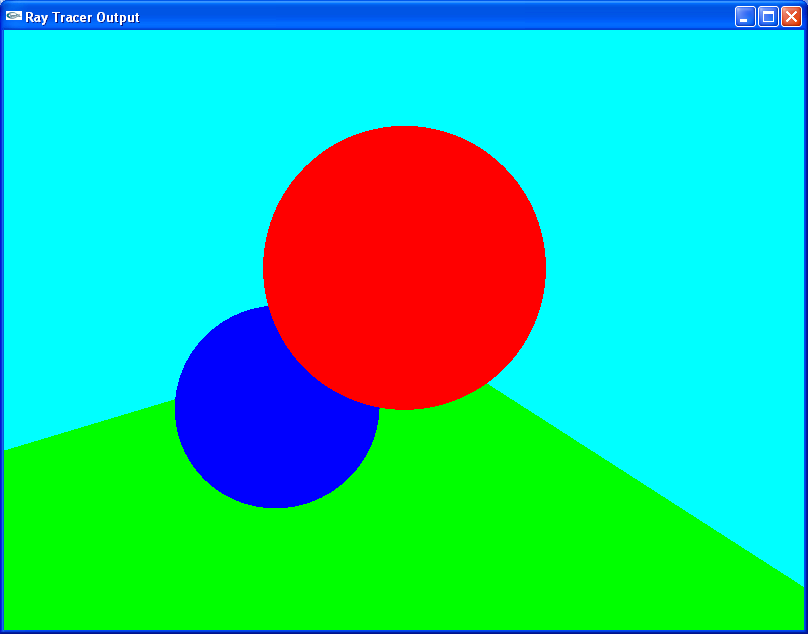
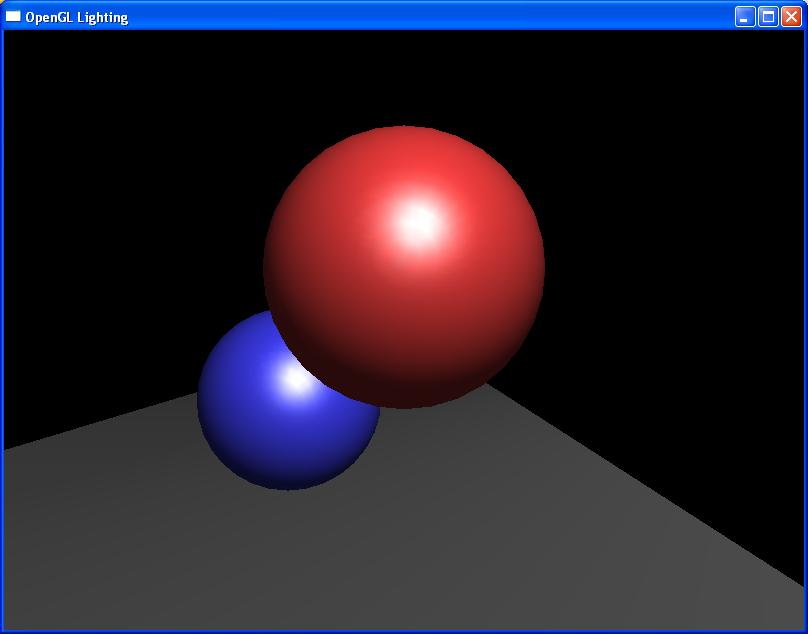
The primary purpose of this part of the assignment was to use any 3D API or renderer to find out the location of lights and objects in the scene, and the location and orientation of the camera. They are as follows in a right handed coordinate system:
Camera
- Position = 0, 4.5, 0
- Lookat = 0, 0, -1
- Up = 0, 1, 0
Spot Light
- Position = 1, 8, 1
- Color = (255, 255, 255)
Sphere 1 (Red)
- Center = 0, -5, -6
- Radius = 1.15
Sphere 2 (Blue)
- Center = -1.25, 3.75, -7.25
- Radius = 1.0
Floor
- Near right = 7, 0, 0
- Far right = 7, 0, -100
- Far left = -15, 0, -100
- Near left = -15, 0, 0