3D Floor Map
WebGL is fun beans. Since it is in essence just a JavaScript object it doesn't have all the idiosyncrasies that traditional OpenGL implementations. There aren't multiple editions of GLSL to contend with, relaxed worries about capabilities between cards and OpenGL revisions, and stifled clunkiness in loading shaders and textures. However, to accomplish such a great feat of platform independence it has to dip its capabilities to nearly the least common denominator of hardware. (and impose limitations that greatly affect this project, as spoken of later.)
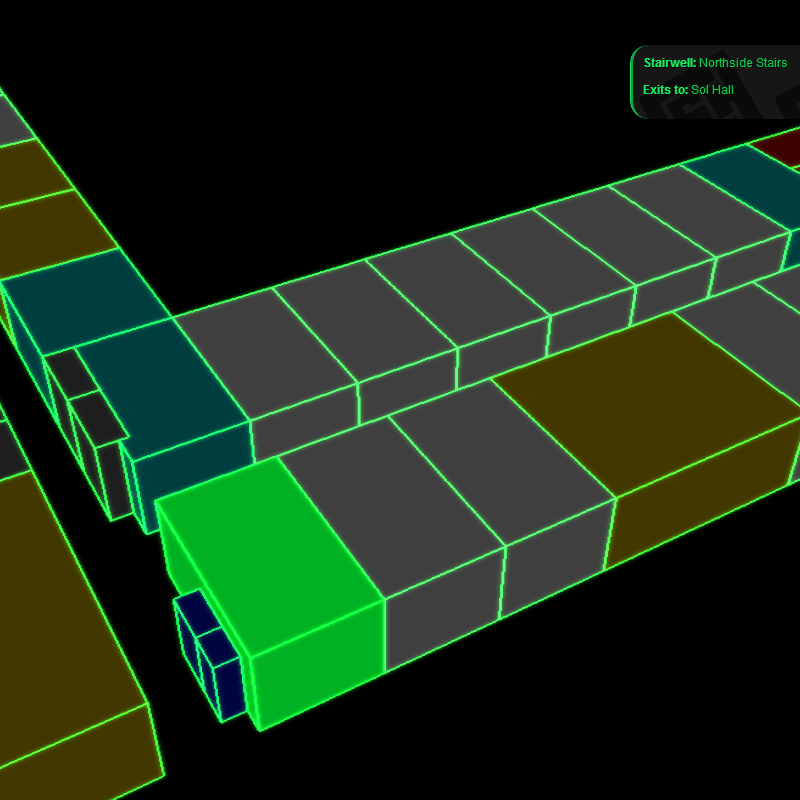
What I've made here is a 3D floor map of my dormitory floor at RIT. You click on a room, and info about that room pops up in a small dialog. Some rooms and other entities have links in their info that take you to relevant information, right there in the map.
Rendering
There are two editions of the map geometry used:
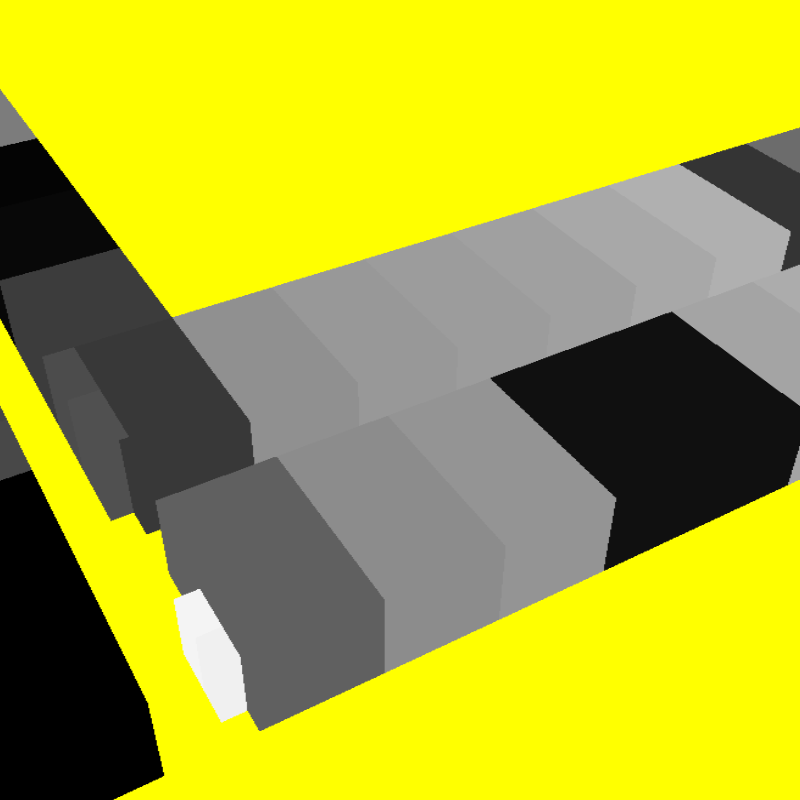
- One which is color-coded in greyscale based on the room. This is the ID model.
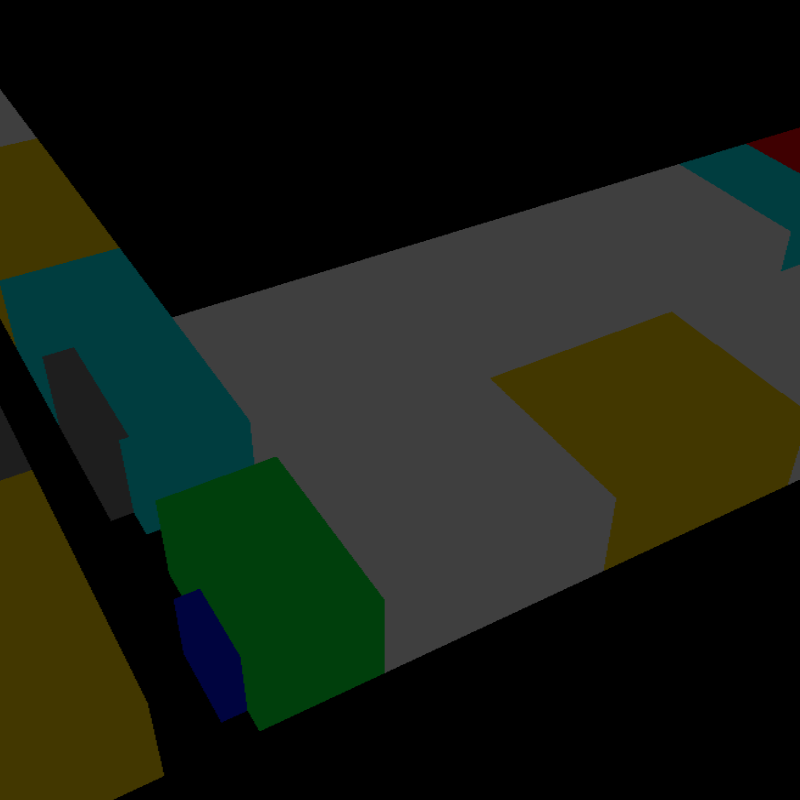
- Another which is colored for the user to see. I'll call this the "diffuse" pass.
These two models are rendered multiple times. First, we directly render the ID model to a framebuffer with a yellow background, allowing us to differentiate between clicks that are on and off the model with ease.
WebGL does not allow for multiple render targets, so for each pass of a multiple-buffer rendering method must be done independently. This fact causes some friction in the drawing of the model. The final desired product is fully wire-framed, and the wire-frame and selected room are gently Gaussian blurred, giving an old-timey sci-fi look. I was going for (in part) the style that Eidos' cult-classic game Whiplash had with their map display, but with a bit more detail and interactivity.) To accomplish this the rendering methodology the map uses has several steps. (On part of WebGL's lack of MRT support.)


Yes, there is a whole lot being done here. It can even be further reduced as-is. One might criticize the fact that normals are calculated in their own pass, when they can simply be derived from the depth-pass framebuffer. There is a reason for doing it my way: The way dFdx(genType g) and dFdy(genType g) work is, well, 'effing cool. Fragments are processed often in groups, each with their own set of registers with the GPU. These two functions actually snoop the registers of adjacent fragments for the state of the variable passed to them, and returns the difference between the local and snooped copy of the variable. That's wicked.
Interaction
Compared to the rendering of the map, interaction is rather straightforward. The user clicks somewhere on the screen. The location of the click is taken and transformed by the view-frustum of the ID pass, and then the transformed coordinates are used to read directly out of the ID pass framebuffer. Since the background in this pass is yellow, we know that if the values of the red and blue channels don't match, the user clicked outside the model. If they do, we send the red value to the info-popup dialog callback as the ID of the room to display.
Info for the room is queried from an LDAP database maintained by members of the dormitory floor.